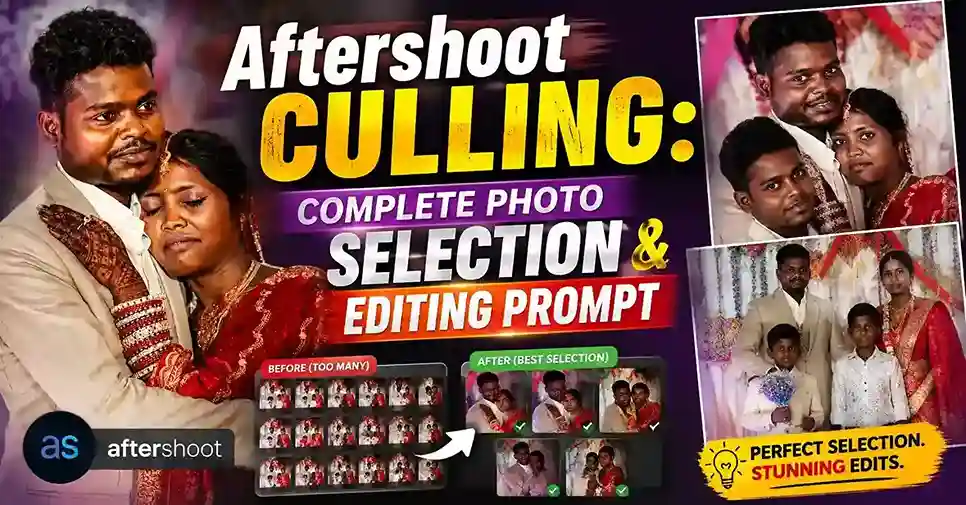
Socho aapne ek beautiful wedding shoot ki hai. 2000+ photographs. Camera mein bohot saari memories hain. Ab aap ghar aaye, thak gaye hain, aur bas ek kaam baaki hai: photos mein se best photos select karna.
Yahi hai photo culling.
Photography mein culling ka matlab hota hai, apni photographs mein se unwanted, blurry, duplicate, ya weak images ko hata kar sirf best images ko select karna. Ye process editing se pehle aata hai. Agar aap culling ache se nahi karte, toh aap editing mein unnecessary time waste karte hain, un photos par jo deliver hi nahi honi chahiye.
Yahan pe Aftershoot culling kaam aati hai. Aftershoot ek AI-powered tool hai jo photographers ko manual culling ka burden kam karne mein help karta hai. Ye software automatically blurry images, closed eyes, aur duplicates ko identify karta hai, aur aapko sirf best shots dikhata hai.
What Is Aftershoot Culling?
Culling means selecting the best photos from a large collection. Jab aap 1000+ photos shoot karte hain, toh un sabko edit karna possible nahi hai. Aapko decide karna padta hai ki kaunsi photos client ko deliver karni hain aur kaunsi nahi.
Manual culling mein photographer har ek photo ko individually review karta hai: focus check karna, expressions compare karna, duplicates identify karna. Ye process 3 se 5 hours tak chal sakta hai ek large shoot ke liye.
Aftershoot culling is process ko automate karti hai. Aftershoot ka AI 30+ scoring factors use karta hai: sharpness, exposure, blinks, duplicates, facial expressions, aur composition har photo ko analyze karne ke liye.
Aftershoot do modes offer karta hai:
- AI-Automated Culling: AI first pass karta hai, sabse strong photos surface karta hai, aap sirf top picks review karte hain.
- AI-Assisted Culling: AI organize aur group karta hai, but har decision aapka rehta hai.
Import baat ye hai ki Aftershoot kuch bhi delete nahi karta. Ye non-destructive hai; har photo accessible rehti hai, aap kabhi bhi review kar sakte hain.
Aftershoot Culling vs Manual Photo Culling
Important: Automated assistance photographer ki creative judgment ko replace nahi karti. AI suggestions deta hai, but final decision aapka hi hai.
Photo Editing Prompts After Culling
Culling ke baad, jab aap editing shuru karein, toh editing prompts bohot helpful ho sakte hain. Chahe aap Lightroom use karein, Capture One, ya koi AI editing tool, ek achha editing prompt aapko consistent results dene mein help karta hai.
Effective Photo Editing Prompt Mein Kya Hona Chahiye:
- Subject: Photo mein kya hai? (portrait, landscape, wedding, etc.)
- Lighting: Kaisi lighting hai? (golden hour, studio, low-light)
- Exposure: Exposure adjust karni hai ya nahi?
- White Balance: Warm ya cool tone?
- Color Tone: Kaunsa color palette?
- Contrast: High contrast ya low contrast?
- Skin Tones: Natural rakhna hai ya stylized?
- Background: Background ke saath kya karna hai?
- Mood: Kaunsa mood convey karna hai? (cinematic, natural, editorial, etc.)
- Sharpness: Kitna sharp rakhna hai?
- What NOT to change: Kya cheezein change nahi karni chahiye? (facial structure, identity, body proportions)
Ready-to-Use Photo Editing Prompts
Yahan 10+ prompts hain jo aap copy-paste kar sakte hain apni selected photos ke liye:
Natural Wedding Photo Enhancement

Cinematic Wedding Look

Warm Golden-Hour

Clean Professional Portrait

Soft Skin Enhancement

Moody Portrait

Bright Outdoor Photography
Prompt: “Enhance this outdoor photo with bright, airy tones. Lift shadows slightly, keep highlights natural, and add a subtle warmth. Maintain natural colors and do not overexpose the sky. Preserve all details.”
Indoor Low-Light Correction
Prompt: “Correct this indoor low-light photo by reducing noise while preserving detail. Adjust exposure to brighten the subject naturally. Keep white balance warm but natural. Do not over-sharpen.”
Reception Photography
Prompt: “Enhance this reception photo with warm ambient tones, controlled highlights, and natural skin colors. Keep the party atmosphere with slightly saturated colors. Preserve all facial expressions and details.”
Candid Wedding Photography
Prompt: “Enhance this candid wedding photo with natural colors and soft contrast. Keep the moment authentic — do not over-edit or change expressions. Preserve the natural lighting and atmosphere of the scene.”
Family Group Photo
Prompt: “Enhance this family group photo with even lighting across all faces, natural skin tones, and balanced exposure. Keep everyone’s facial features natural and do not change any facial structures. Ensure the background is clean but not distracting.”
Fashion Portrait
Prompt: “Create a high-fashion editorial look with enhanced contrast, slightly desaturated colors, and sharp details. Keep skin texture natural but polished. Preserve clothing details and fabric texture. Do not change model’s facial structure.”
Common Photo Editing Mistakes After Culling
- Excessive skin smoothing: Skin ko plastic jaisa mat banayein. Natural skin texture preserve karein.
- Unrealistic colors: Colors natural dikhne chahiye, over-saturated nahi.
- Over-sharpening: Zyada sharpening se photo artificial lagti hai.
- Crushed shadows: Shadows mein detail lose mat karein.
- Blown highlights: Highlights ko completely white mat karein.
- Changing people’s identity: Facial structure aur body proportions change nahi karne chahiye.
- Inconsistent edits across a gallery: Poori gallery mein consistent look hona chahiye.
- Excessive HDR effects: HDR effect zyada mat karein; photo natural dikhni chahiye.
- Removing natural details unnecessarily: Natural details (moles, freckles, skin texture) ko unnecessarily remove na karein.
FAQ
Is Aftershoot good for photo culling?
How does photo culling work?
Photo culling mein photographer apni photographs mein se unwanted, blurry, duplicate, ya weak images ko hata kar sirf best images ko select karta hai. Manual culling mein har photo individually review ki jaati hai. AI-assisted culling mein software automatically flaws identify karta hai aur best shots suggest karta hai.
What is the difference between culling and editing?
Culling “which photos should I keep?” ka answer deta hai, selection phase. Editing “how should the selected photos look?” ka answer deta hai, enhancement phase. Culling pehle aata hai, editing baad mein.
Can photographers use Aftershoot for wedding photography?
Can photo editing prompts be used after culling?
Haan. Culling ke baad, AI photo editing prompts aapko consistent edits achieve karne mein help karte hain. Ek achha prompt specific hota hai; lighting, exposure, skin tones, mood, aur kya change nahi karna hai, sab specify karta hai.
Conclusion
Toh photographers, ye thi aftershoot culling ki poori guide, kaise ye AI-powered tool aapki photography workflow ko fast, smarter, aur less stressful bana sakta hai.
Culling shayad photography ka sabse glamorous part nahi hai, lekin ye sabse important hai. Agar aap editing shuru karne se pehle hi best photos select kar lete hain, toh aapka creative energy waste nahi hota. Aap sirf un images par focus karte hain jo actually matter karti hain, jo story tell karti hain, emotions capture karti hain, aur client ko khush karti hain.
